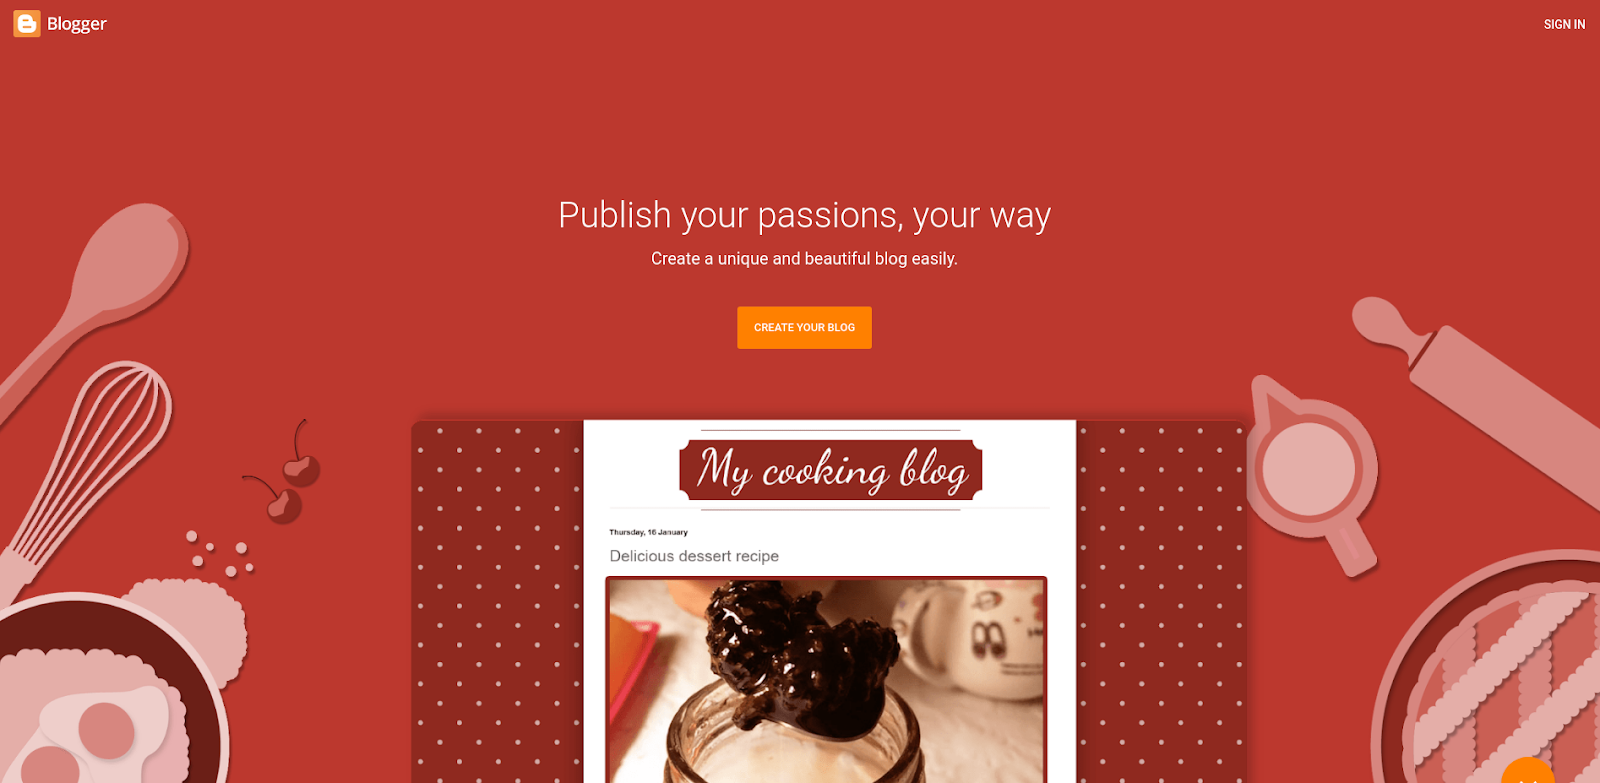
Are you passionate about writing and sharing your ideas with the world, but feeling overwhelmed by technical details? This guide is for you! Blogger, a free platform by Google, is perfect for those who want to start blogging without any investment. We’ll walk you through the simple steps of creating a blog post and publishing it on Blogger, so you can focus on what truly matters: expressing yourself!
What Is Google Blogger?
Blogger, another content management system, was launched in 1999 by Pyra Labs, the pioneers in blog publishing. Now owned by Google since 2003, Blogger allows users to create and host blogs for free. Google hosts these blogs under the subdomain blogspot.com, providing a seamless connection between the blogging platform and its hosting service.
How To Create A Google Bloggers Account?
To create a Google Blogger account, you must first have a Gmail account. If you already have a Gmail account, you can skip this step.
If you don’t have a Gmail account, create one first.
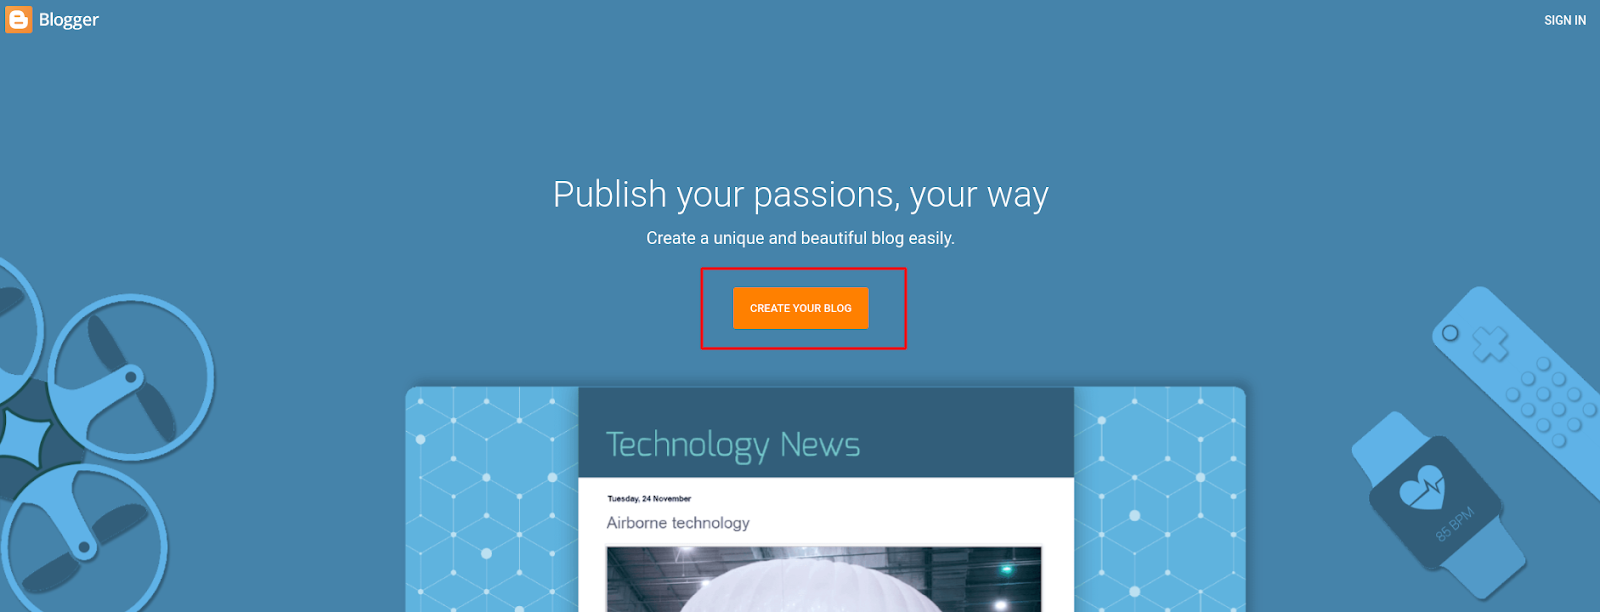
Next, visit blogger.com and click the “Create Your Blog” button.
If you’re already logged in with your Gmail account, you’ll be asked to confirm your login or sign up with your Gmail account.
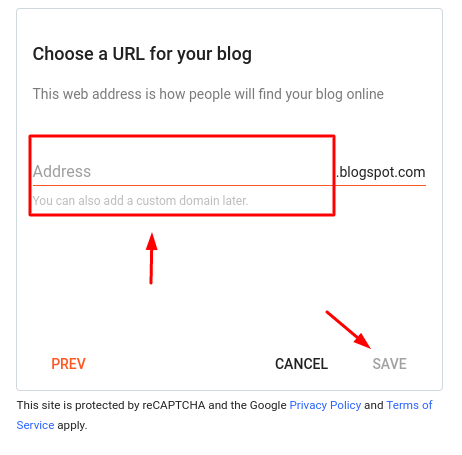
When you register as a blogger with your Gmail account, you’ll be asked to provide a name for your blog. It will appear in the Title space as shown below. I suggest using your blog name as the title. Subsequently, you’ll need to create a blog address by combining your blog name with blogspot.com.

As highlighted below the space you need to put your blog name. That will be published with the google blogger subdomain blogspot.com
Now press next you will get the prompt to enter your blog address you can put your blog name and address the same if you want. You need to enter your blog name in a small case in the highlighted area that will add up and work as a sub-domain of blogspot.com
For example, if you choose a blog Title and blog name “ catfish” it will become catfish.blogspot.com
If you have already purchased a domain you can add the part with google blogger which is a different procedure it will tell you another blog post.
For now, I only cover the free option so please bear with me.
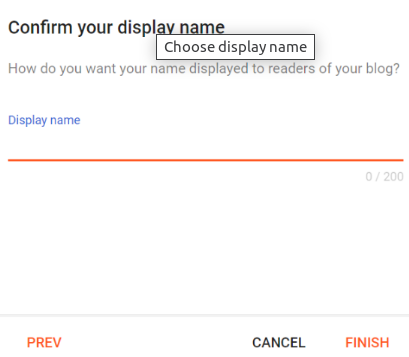
As you did the above step you will be asked to enter the blog display name it will appear as a header of your blog.
Once you are done with it, your blog has been created. Now you need to understand how to work on blogger.com. Once your blogger account is created then it will appear like this. And on the left side of the blogger account you get various options to manage a blogger account.
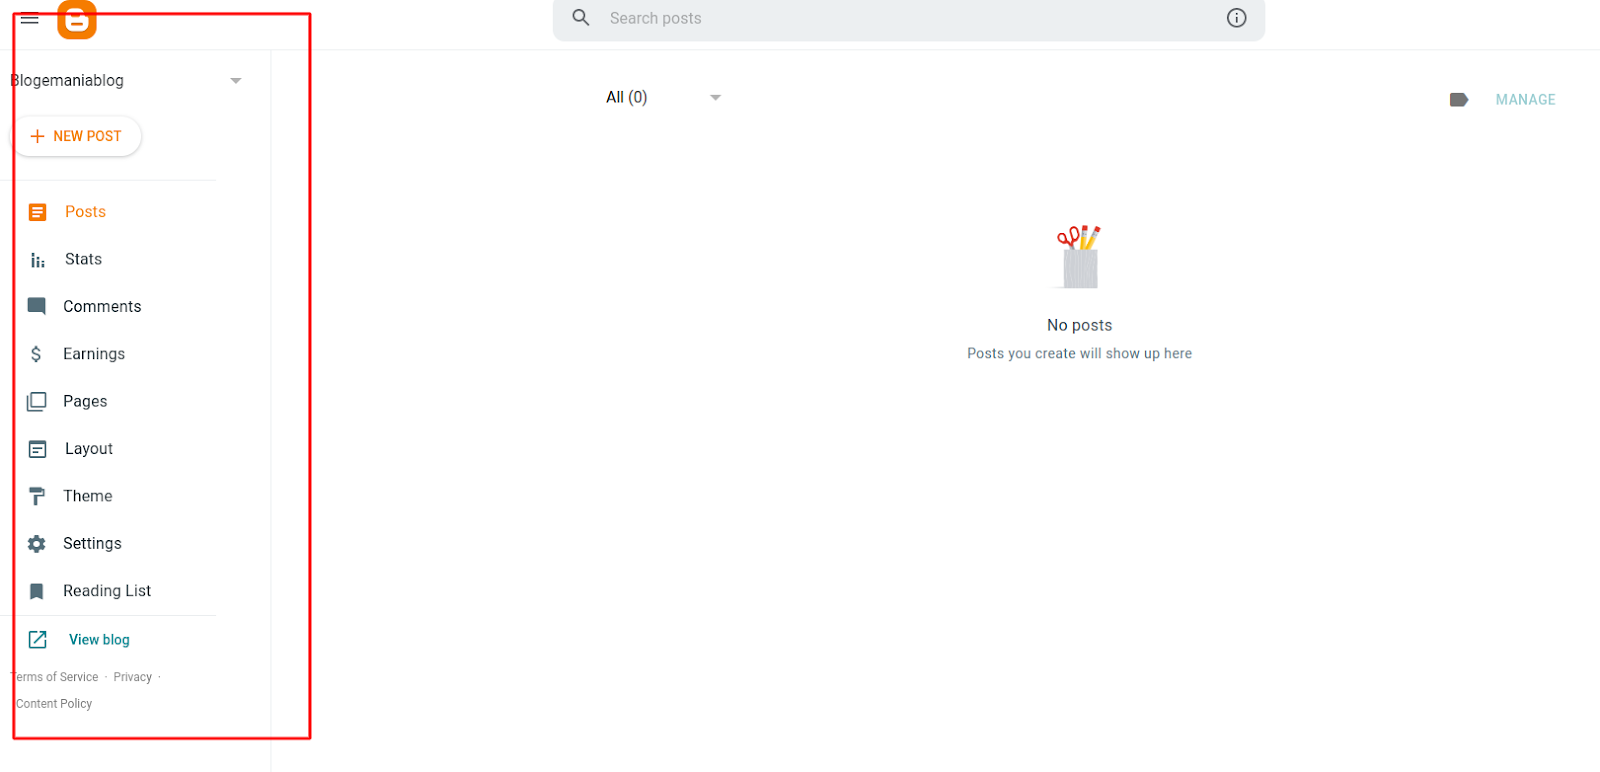
Now I will let you know about all these options. One by one. There are 10 various options provided by blogger.com that are useful to manage a blogger account from customizing to publishing your day-to-day content.
What Are The Options Provided By The Google Blogger Account?
Here I am going to list all 10 major given options for any blogging beginner who wants to start a blog in blogger.com
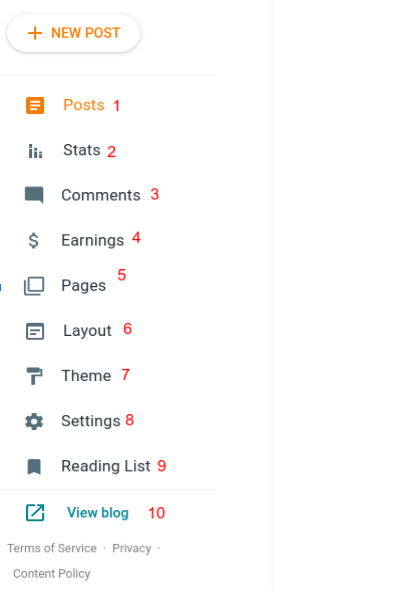
- Posts: It shows all your published posts, draft or ongoing post list.
- Stats: shows the statistics of each post and how many views on the published post you are getting.
- Comments: It’s a comment moderation area where you can manage comments and see who is commenting. You can also delete unwanted comments from here.
- Earning: This option gives already added features of Adsense you only need to register for Adsense to approve your blog from this area so you can monetise your blog through AdSense.
- Pages: These are the list of pages you created for your blog. Pages like about, contact and privacy policy here you can create easily and manage.
- Layout: The layout is the area where you can customize your blog. I will tell you in this blog how.
- Theme: This helps you to select a suitable theme for your blog where you are given a few theme options you need to select any one of them.
- Setting: It is the most important feature or option you can say in blogger where you can manage some technical things of your blog, for example redirecting from an HTTP site to HTTPS.
- Reading List: The reading list is the thing I like most here. You can manage your reading list of another blog you subscribe to and see the reading list where you get the update of their post here in the list so you can easily get the updates of your favorite blogs and the one you add in the list.
- View Blog: You can see the preview of your published blog appearance that will be shown to the public. Once you click on it you will see the appearance of your blog and how it looks. It shows the front end of your blog.
How To Start To Customize Google Blogger?
Now I’m going to tell you how to customize your google blogger account to make your blog appear the way you want it to appear. Here in the given screenshot, I have highlighted the areas. To customize your blog you need to first go to the layout option then you will see on the right side various options for your pages or blog parts or you can say sections from the sidebar to the header footer and body area of your blog. Basically, this area of layout can be added by using add gadgets.
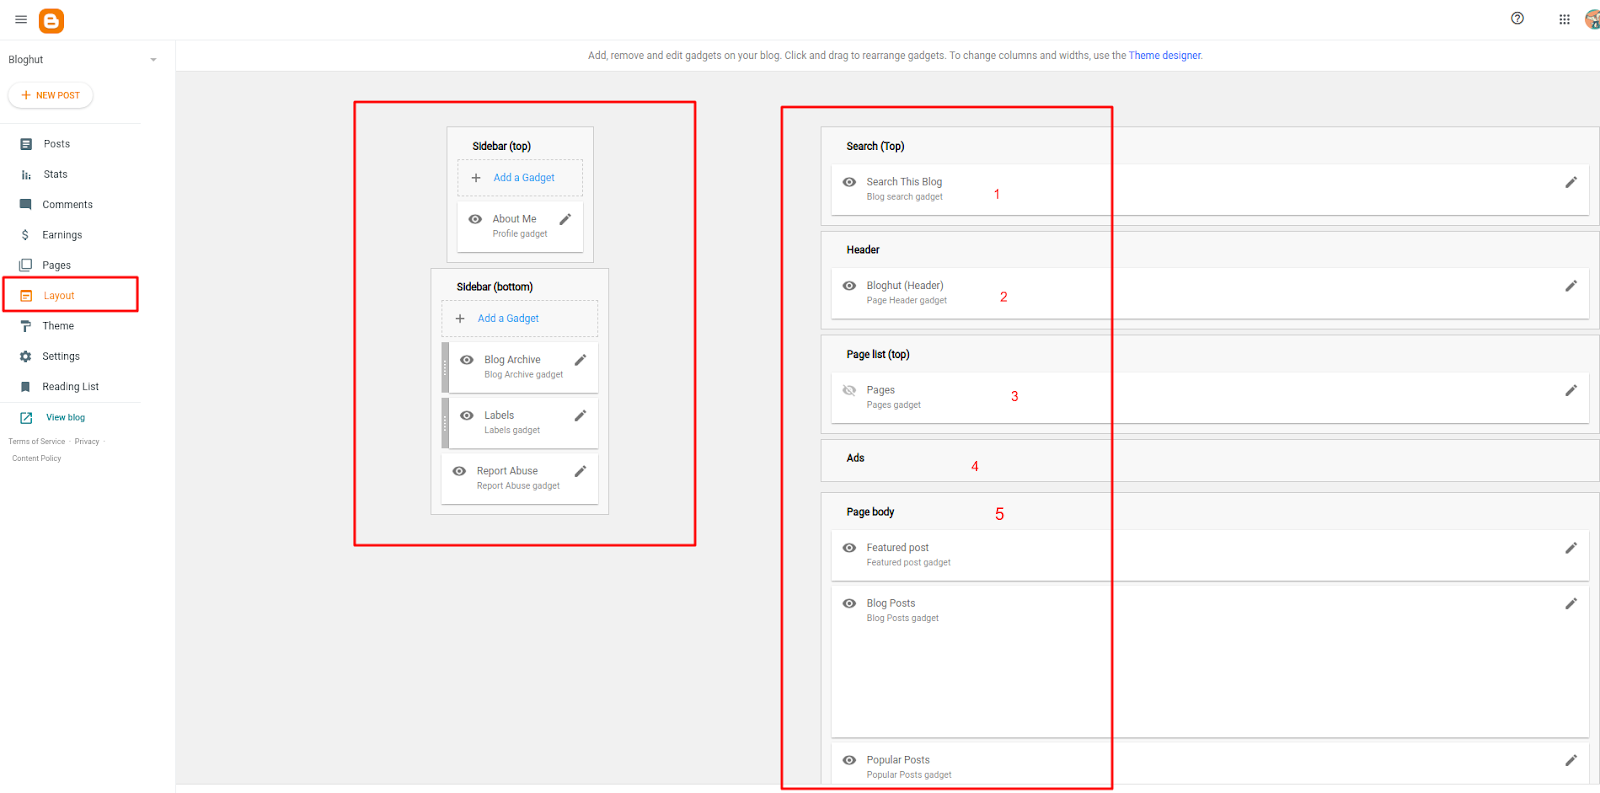
- Search box where you can search blog posts of your blog.
- Hearder where it shows your header text like a blog name.
- Pages list can show the pages to the user in list view the post or pages you created and published.
- Then comes the ad area where ads can be displayed and gadgets can help you to add where you want to place the ads.
- The page body is the area where your post will be included as the featured post, blog post and popular post.
- Below the page body, you get the footer where you can add the important link.
- Left side you get the sidebar top and bottom where you can add various gadgets like profile gadgets, blog archive gadgets and label gadgets etc.
How To Choose, Change And Apply Themes In Blogger?
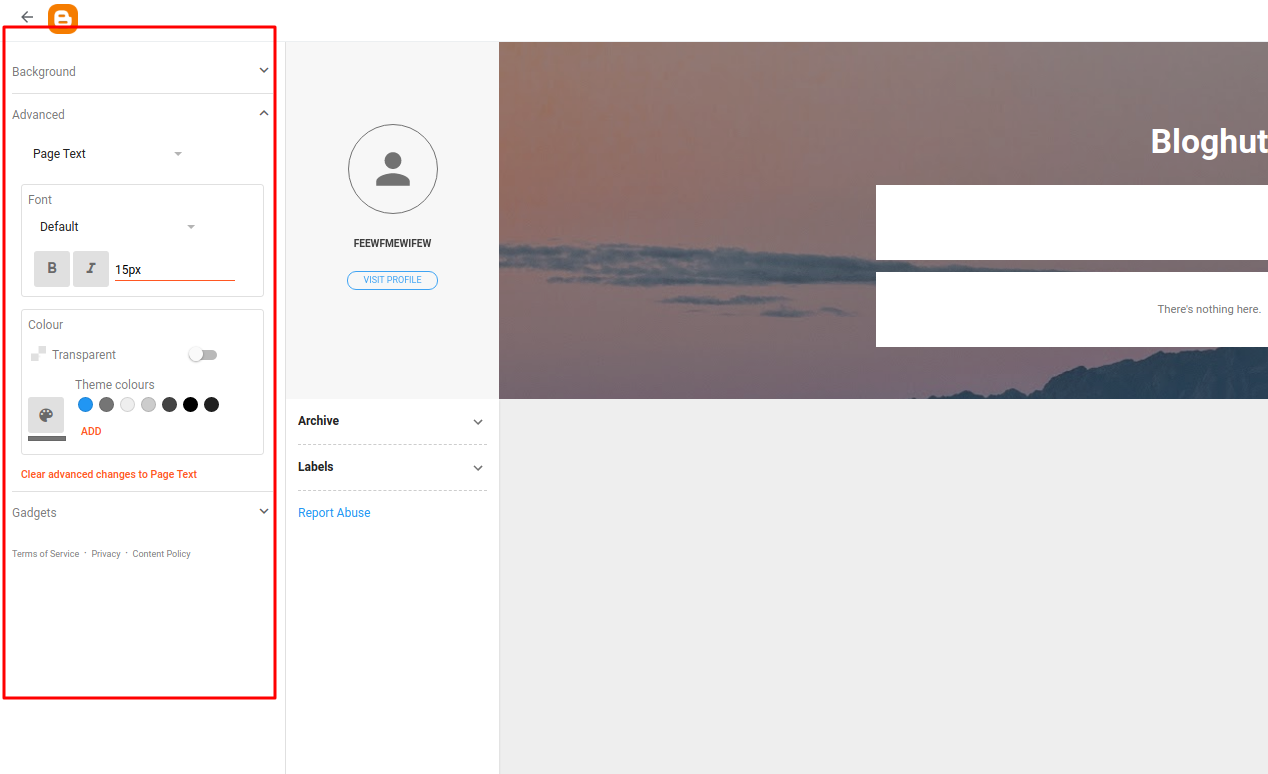
To choose a theme in your blogger you can click on the left side option on the theme and then you get your default theme where you see the customisation button to customize your theme background, color, fonts and the gadgets you added.
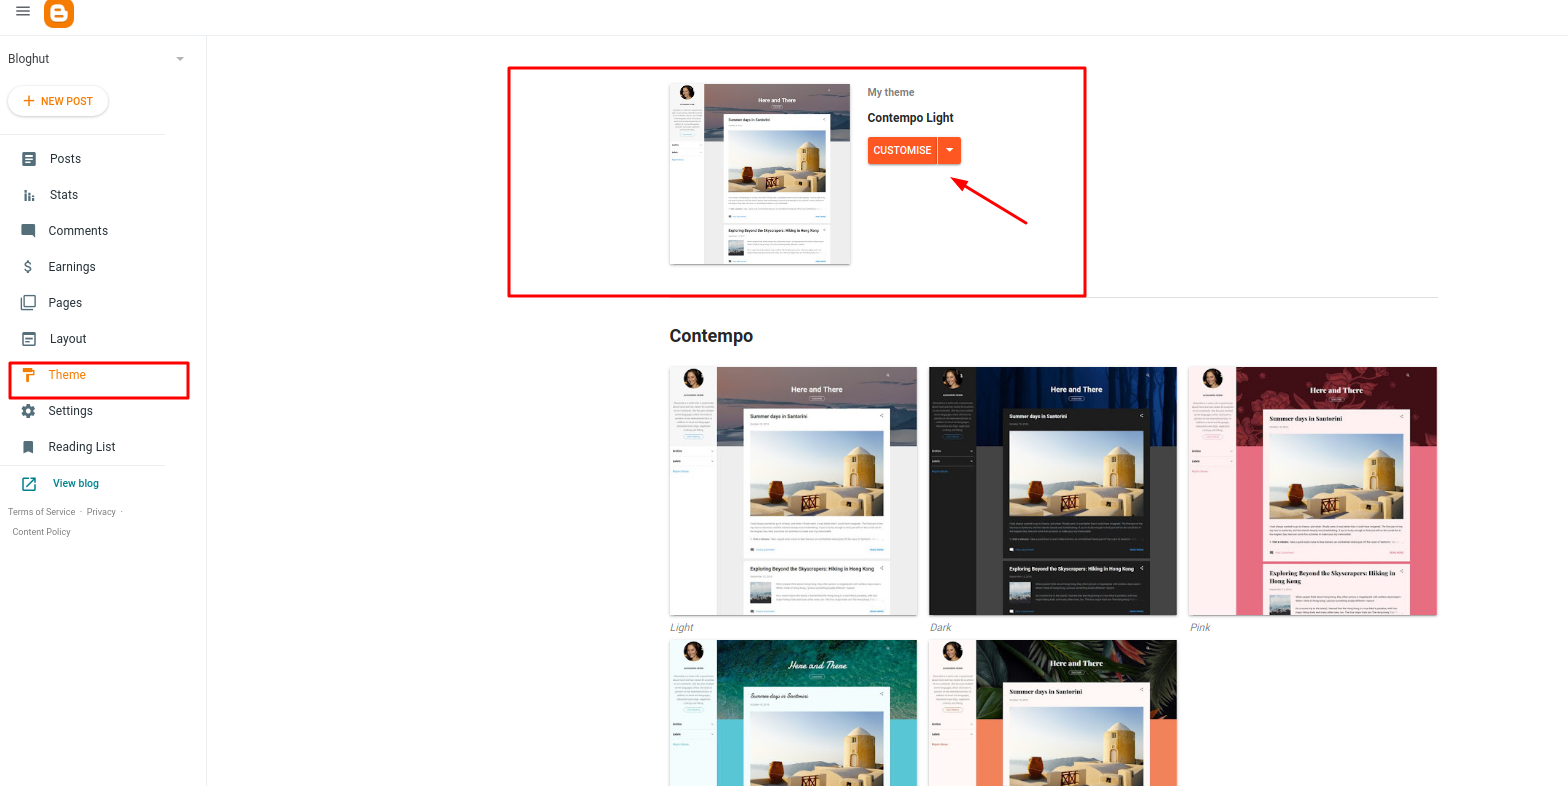
You will get things like these so you can directly see the changes. The customisation option will be on the left and the right side of your blog appearance. This will help you to know when you customize you see the changes right there.
You also get various other theme options below the default one so you can choose or change the one you want to best suit your blog niche. Once you want to change your blog you only need to click any one of the themes. You will get the things like this shown in the image below.
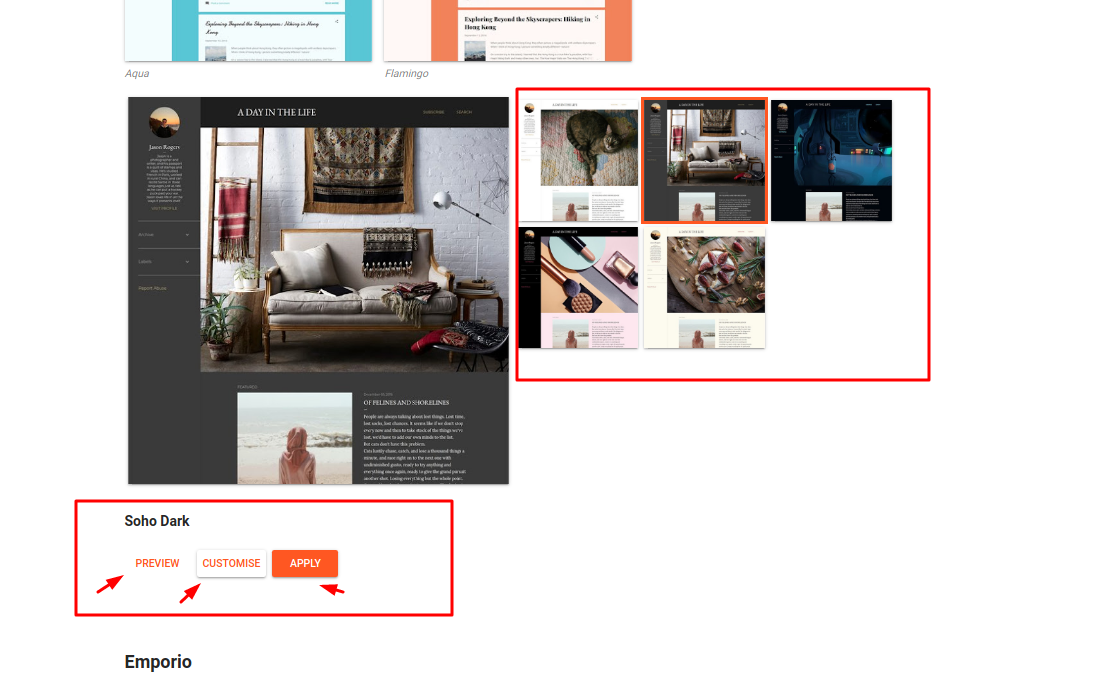
In the right corner you get how it appears on other pages of the theme and below highlighted in the box as I showed there are three options you get to preview, customize and apply as the default theme. You can choose any of the three options as you need to see the things before applying it then you need to see them as a preview. If you need to make changes to the things in the theme and then want to apply then use customize or finally apply.
Now you can see the changes in the theme

How To Start Writing And Publishing On Google Blogger?
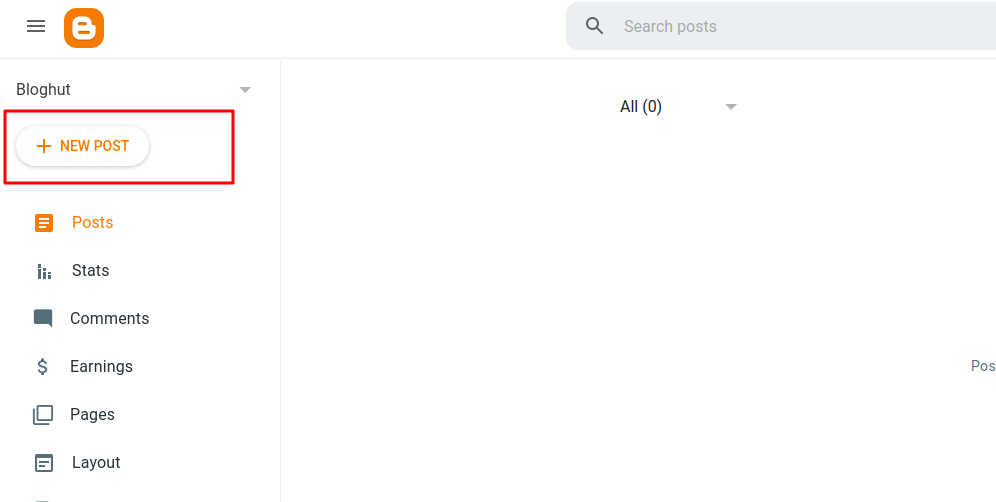
Now you need to know how to start writing posts on blogger.com. To start writing your first post you need to click on a new post as shown in the images.
Now you will get a word-like page where you need to fill in the things as I am going to guide you now.
- First, you need to write the title of the post
- You get the option that really looks like MS word or Google docs like tools area where you can select font color, size and font design. You can also align your text, and provide line springs, and bullet points. You can add images, videos, links, and emojis.
- This is the area where you can type and add things in an image or video format.
- The post setting area is an important area which really needs to be considered before making your post like or you can say before clicking the publish button. Post setting area has four major this
- Label: Use To Focus Keywords
- Publishing Date: Use To Schedule Pist
- Permalink: Create: User And Seo Friendly Post Hyperlink
- Location: To Target Geo Location As County Or State
- Options: To Allow Or Disallow Comments In the Post
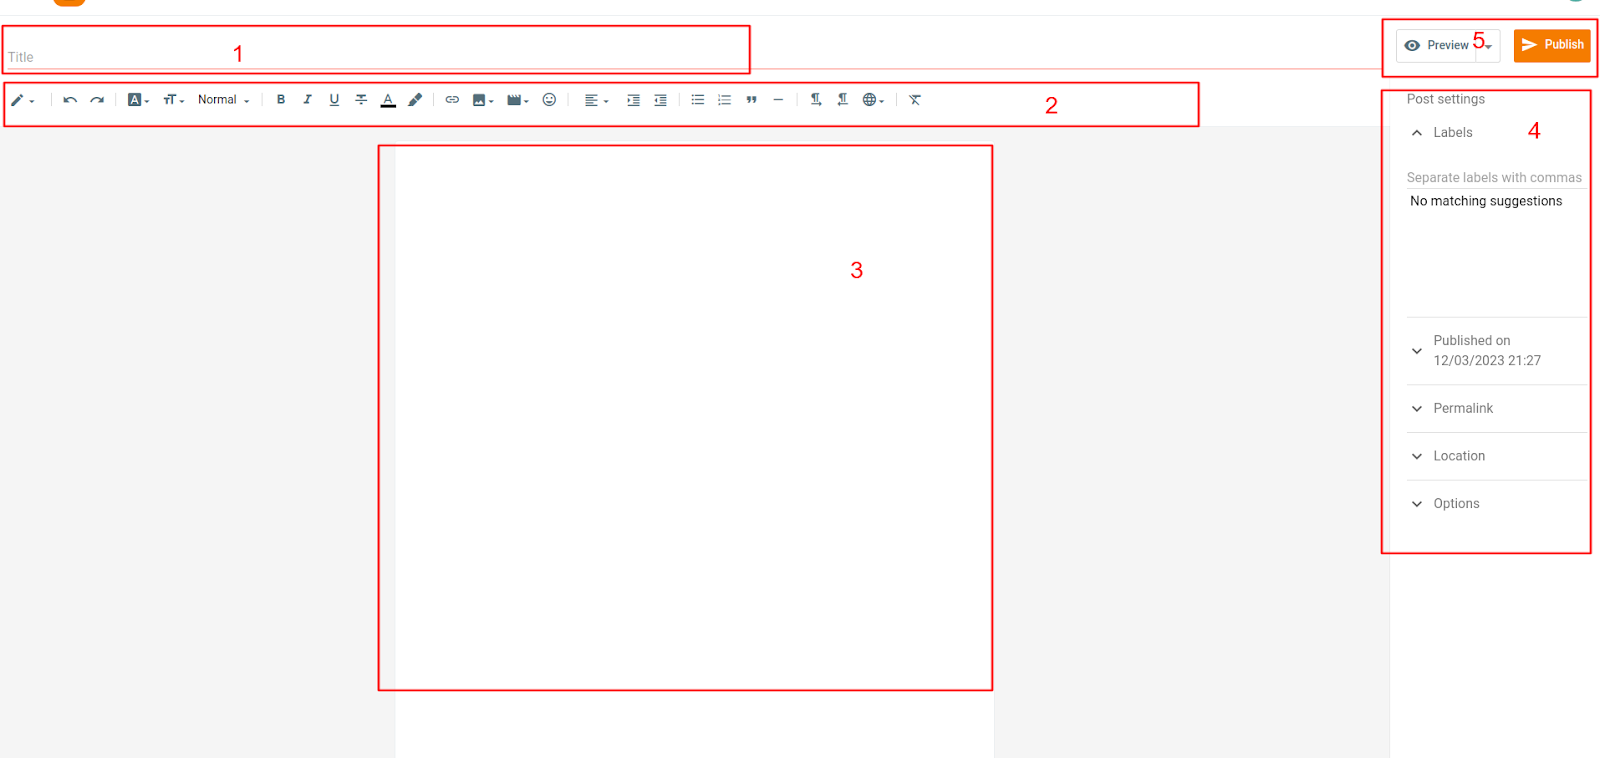
Now finally you need to review everything and preview things how it would look like when it will be published. After assuring everything you can click on publish button,
Now your first blog post on blogger is live and can be accessed on the internet at your blog URL.
Wrap Up
Now that you’ve learned how to establish a free blog on blogger.com, let’s delve into the art of writing an engaging blog. This comprehensive blog post aims to provide beginners with a step-by-step guide to starting their own blog without incurring any costs. I strived to simplify the process so that you can focus on pursuing your passions, without getting bogged down by technical complexities. If you appreciate my efforts, please share this blog with others. Feel free to leave a comment if you have any questions or require further assistance.